
Here are the steps in creating 3D Paper Flowers using Cricut Expression:
1. Put the Art Philosophy cartridge in your Cricut machine. Load your cardstock, I used cream-colored cardstocks i bought from Michaels. Choose the size of the paper and depth of the cricut blade. Then from your keypad, press SHIFT + FONT feature and then choose the Fleur delis icon. I chose size 5" so i can cut 2 flowers in a letter size cardstock. Then press CUT.

2. Remove the excess cardstock from the cutting mat. Use the cricut paper press to lift the flowers. Gently lift.

3. Using a paper tweezer, secure the end and start twisting and rolling until you it forms like a flower.


4.Secure the bottom with glue and ensure that the petals are evenly spaced. Now you have a rosette.

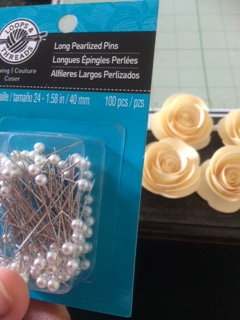
5. Adhere the rosettes to a styro ball. I used size 6" and secure the rosettes with a glue gun. I added pearlized long pins as accessory.

6. I pierced old pencils into the styro ball and wrap it with satin ribbons with pearls. Now this is how my flower ball looks like.

Now I have a bouquet that will stay forever, like our love. cheesy :)